Industrial fluid systems rely on precision and reliability—but even the best components fail if they’re not installed correctly. Many engineers struggle with installing needle valves, leading to leaks, pressure drops, or valve failure. These issues can halt operations and create safety hazards. Fortunately, proper installation of a needle valve is straightforward when you follow the right process. This guide will walk you through each step, highlight best practices, and help you avoid costly mistakes.
Needle valve installation requires checking compatibility, cleaning connections, applying thread sealant if needed, aligning flow direction, tightening carefully, and leak testing. Correct installation ensures reliable flow control and prevents system failure
Whether you’re maintaining existing systems or installing a new line, let’s dive deeper into how to do it right.
What Tools Do I Need to Install a Needle Valve?
Before starting, gather the necessary tools and materials to ensure a smooth installation process:
Basic Tools
Pipe wrench or open-ended spanner
Torque wrench (recommended)
PTFE tape or pipe dope (for threaded connections)
Soapy water or leak detection spray
Clean lint-free cloth
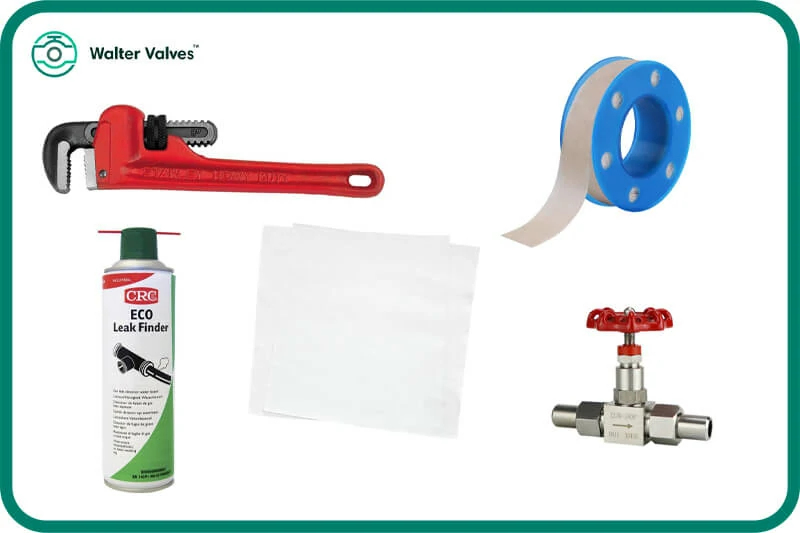
Materials Checklist
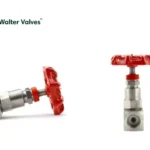
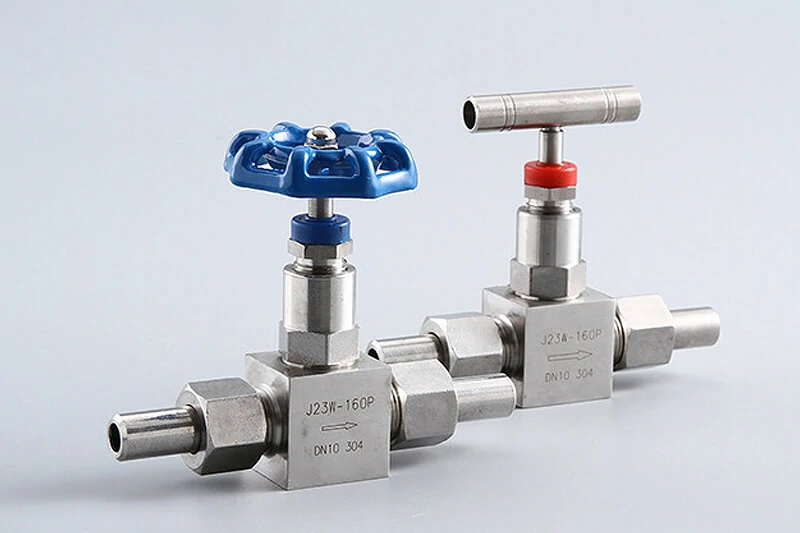
Needle valve (confirm size, material, pressure rating)
Compatible pipe fittings (male/female threads, tube fittings)
Lubricant or anti-seize compound (if manufacturer recommends)
How Do You Prepare for Needle Valve Installation?
Preparation is often overlooked but is one of the most critical steps in preventing installation errors.
Confirm Valve Specifications
Make sure the selected needle valve matches your system requirements:
Connection type: NPT, BSPT, BSPP, compression, welded
Size: Common sizes include 1/8″, 1/4″, 1/2″, and 1″
Material: Stainless steel, brass, or special alloys
Pressure rating: Typically 3,000–6,000 PSI for industrial use
Seal type: PTFE, metal-to-metal, or elastomeric
At Waltervalves, we offer a wide range of needle valves tested for high-pressure and corrosive conditions, suitable for industries like oil & gas, chemical, and instrumentation.
Clean Pipe and Valve Ends
Before installation:
Remove all debris, dust, and moisture.
Inspect threads for burrs or damage.
Wipe surfaces using a dry, lint-free cloth.
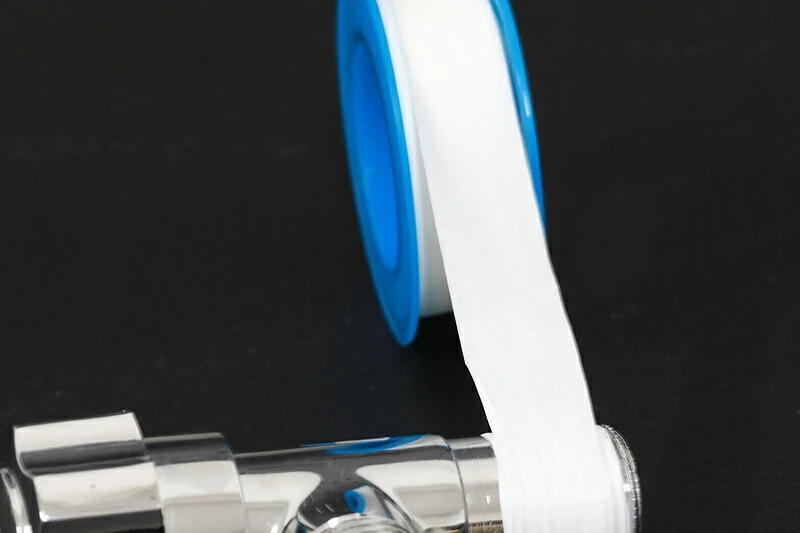
Apply Thread Sealant (If Applicable)
For threaded ends:
Use PTFE tape: Wrap clockwise around the male thread 2–3 times.
For pipe dope, apply a thin layer on the male threads only.
Do not use sealant on compression or flare-type fittings.
How Do You Install a Needle Valve?
Here’s the core step-by-step procedure to install a needle valve safely and correctly:
Step 1: Align the Valve
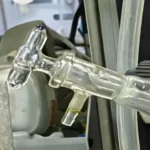
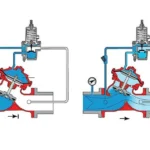
Position the valve so the flow direction arrow on the body aligns with the intended fluid path. Needle valves are usually bidirectional, but directional alignment ensures optimal performance in some models.
Step 2: Hand-Tighten First
Thread the valve into the fitting or pipe by hand to avoid cross-threading. Hand-tightening ensures proper alignment and reduces the risk of thread damage.
Step 3: Use Wrench to Secure
Use a pipe wrench or spanner to tighten the valve securely. If torque specs are available from the manufacturer (e.g., 30–35 Nm for 1/2” SS valves), use a torque wrench for precision.
Avoid overtightening—this is a common cause of valve cracking or deformation.
Step 4: Perform Leak Testing
Once the valve is in place:
Slowly pressurize the system.
Apply soapy water around joints and threads.
Look for bubbles indicating leakage.
Tighten slightly more if necessary, but do not force.
For gas systems, consider using certified leak detection fluids.
Step 5: Test Valve Operation
Rotate the handwheel to verify smooth open/close movement. Make sure the valve fully shuts off and opens without obstruction or resistance.
Installation Tips by Application Scenario
| Application | Recommended Practice |
| Instrumentation systems | Use double-ferrule compression fittings for tight spaces |
| Oil & gas pipelines | Select valves rated for 6000+ PSI and extreme temps |
| Water treatment | Choose brass or SS with EPDM seals |
| Chemical processing | Always confirm chemical compatibility with seal material |
| Cleanroom/laboratory | Use valves cleaned and packaged for high-purity service |
Common Installation Mistakes (and How to Avoid Them)
| Mistake | Risk | Prevention Tip |
| Using wrong thread type (e.g., BSP vs NPT) | Thread leakage, damage | Always check thread standard and use matching parts |
| Over-tightening fittings | Deformation, cracking, internal damage | Use torque wrench or tighten per spec |
| Skipping leak test | Undetected leaks, system inefficiency | Always perform soap bubble or pressure test |
| Ignoring flow direction | Impaired regulation, failure to shut off | Check arrow on valve body or datasheet |
| Using thread sealant on compression ends | Blocked ports, improper sealing | Only apply sealant to tapered male pipe threads |
How Long Does It Take to Install a Needle Valve?
For a trained technician, the installation typically takes:
15–30 minutes for threaded valves
10–20 minutes for compression-style or panel-mounted valves
More time may be needed in tight spaces or corrosive environments requiring PPE or cleaning procedures.
Maintenance After Installation
Proper maintenance prolongs the life and performance of the valve:
Cycle the valve periodically to prevent sticking
Clean valve exterior if exposed to corrosive or dusty environments
Inspect seals for wear or leaks
Replace worn components with OEM kits
Waltervalves offers long-term supply of spares for all needle valve models.
Conclusion
Correct needle valve installation is essential for safe, reliable, and precise fluid control in industrial applications. From selecting the right connection type to leak testing and operational checks, following a structured process ensures long-term system integrity.
If you’re sourcing industrial-grade needle valves, Waltervalves delivers:
High-pressure rated valves (up to 6,000 PSI)
Stainless steel, brass, and alloy options
Threaded, compression, and panel-mounted models
Factory-direct pricing and fast global delivery
Need expert advice on product selection or installation? We’re here to help.
Contact Waltervalves Today
Email: info@waltervalves.com
Service: OEM & ODM supported | Global shipping | 24h quote response
FAQ
Can You Install a Needle Valve in Any Orientation?
Yes. Needle valves can be installed vertically or horizontally. However:
Vertical installation is preferred when gravity or draining is important.
Avoid mounting with excessive load on the stem to prevent wear.
What Is the Correct Flow Direction for a Needle Valve?
Check the valve body for an arrow. While many needle valves are bidirectional, some designs optimize flow and sealing performance in one direction.
Do Needle Valves Require Lubrication?
Generally, needle valves do not require lubrication. However, for high-pressure or high-temperature systems, some manufacturers recommend applying a light coating of lubricant to the stem or threads to ease operation and reduce wear.
How Tight Should a Needle Valve Be?
Tighten the valve until snug, then apply another 1/4 to 1/2 turn with a wrench. Always follow torque specs if provided. Over-tightening can damage the seat or threads, leading to leakage or premature failure.
What Happens If You Install a Needle Valve Backwards?
While many models still function, installing it backward may:
Affect flow regulation performance
Cause improper shutoff or leakage
Increase turbulence or noise
Always follow the flow direction to ensure precise metering.
How Often Should You Inspect Installed Needle Valves?
Inspection depends on usage conditions. For critical systems:
Monthly inspections are ideal for high-pressure or corrosive media
Look for signs of wear, leaks, or stiffness in the handle
Replace seals or the entire valve if needed