In pressurized piping systems, operators often wonder how to properly install and maintain a bleeder bonnet. Missteps in this small component can lead to dangerous pressure retention, leaks, or equipment failure. That’s why understanding its correct installation and routine maintenance is essential to ensuring workplace safety and system reliability. This guide offers step-by-step instructions and expert tips for proper bleeder bonnet installation and upkeep.
Bleeder bonnets are compact pressure-release devices attached to valve systems to manually vent trapped gas or liquid. Correct installation and routine inspection help prevent leaks, pressure build-up, and costly downtime.
For complete protection and performance, keep reading for installation steps, maintenance practices, and common troubleshooting tips.
What Is a Bleeder Bonnet?
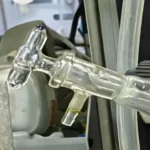
A bleeder bonnet is a specialized fitting used to release residual pressure or gas from valves, manifolds, or instrumentation piping. It’s typically installed on double block & bleed valves, pressure manifolds, or isolation systems, allowing technicians to safely bleed pressure before disassembly or inspection.
Primary Functions:
- Manual venting of trapped pressure
- Prevention of unintentional discharge
- Enhancing safety during maintenance
- Supporting leak testing procedures
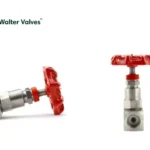
Walter Valves’ bleeder bonnets are engineered for high-pressure, corrosive environments, using materials like stainless steel, alloy steel, or custom metal blends.
Why Correct Installation Matters
Incorrect installation of a bleeder bonnet can result in:
- Thread damage or misalignment
- Pressure leakage during system operation
- Unexpected blowout or operator injury
- System downtime and repair costs
Following the correct process ensures safe operation and extends system lifespan.
Tools and Materials You’ll Need
Before starting installation, prepare the following:
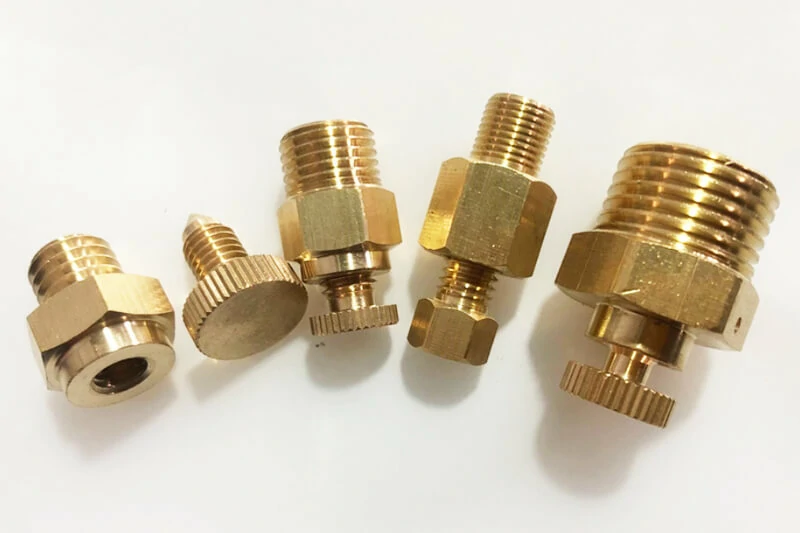
Compatible bleeder bonnet (material, pressure class, and connection type)
- PTFE tape or liquid thread sealant
- Wrench or calibrated torque tool
- Isopropyl alcohol or degreaser
- Clean cloth
Leak detection solution (soapy water or electronic sensor)
PPE: gloves, goggles, etc.
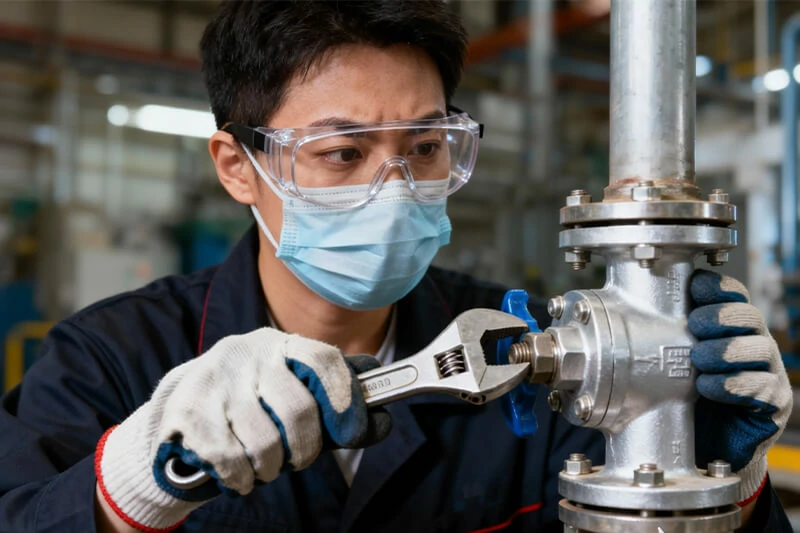
Step-by-Step: How to Install a Bleeder Bonnet
1. Depressurize the System
Before working on any pressurized component, ensure the system is completely shut off and depressurized. Confirm with gauges and follow site lockout-tagout (LOTO) procedures.
2. Clean the Port
Use isopropyl alcohol or degreaser to clean the port area on the valve or manifold. Remove any old sealant, oil, or debris that could affect sealing.
3. Inspect the Threads
Examine both the bleeder bonnet and port threads for damage. Minor burrs can prevent full seating or sealing. Replace any damaged components.
4. Apply Thread Sealant
For NPT or BSPT connections, wrap PTFE tape (2–3 wraps clockwise) or apply a suitable liquid sealant. Avoid excessive application which may clog internal passages.
5. Hand-Tighten First
Insert the bonnet into the port and hand-tighten to prevent cross-threading.
6. Torque to Specification
Using a torque wrench, tighten the bonnet to the recommended torque value. Overtightening can distort the threads or damage the valve body.
7. Leak Test the Assembly
Spray leak detection solution around the bonnet base while slowly applying pressure. Look for bubbles or audible hissing. Alternatively, use an ultrasonic gas leak detector.
How to Maintain a Bleeder Bonnet
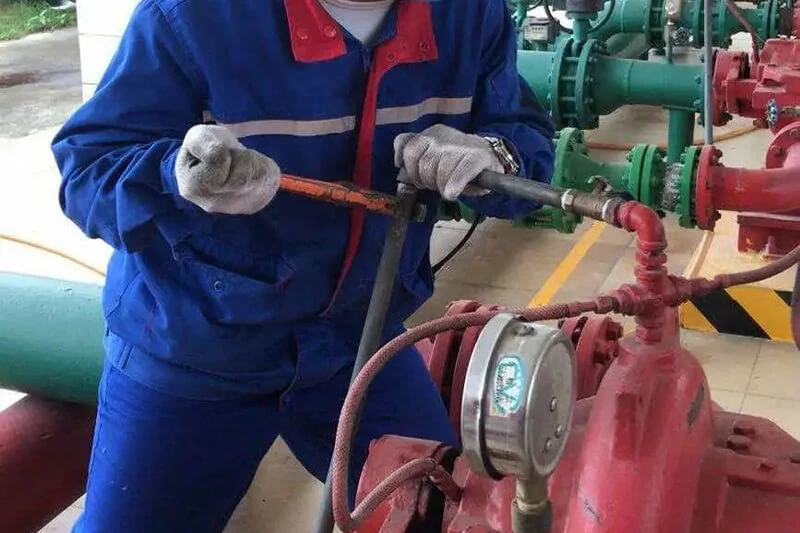
Proper maintenance keeps bleeder bonnets functional and extends their service life, especially in aggressive environments (e.g., saltwater, hydrocarbons, high heat).
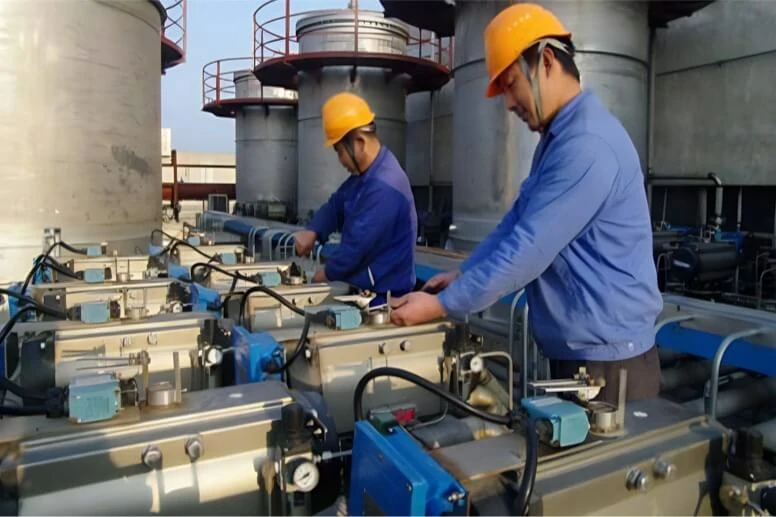
1. Routine Visual Inspection
Inspect bleeder bonnets during scheduled equipment checks. Look for:
- Surface corrosion
- Loose fittings
- Residue around the vent hole
- Signs of leak-back
2. Operational Check
Open and close the bleeder manually (if applicable) to ensure smooth movement and that the vent isn’t clogged.
3. Replace Worn or Damaged Units
If the bonnet shows signs of thread wear, corrosion, or leakage, replace it with a new certified part from your supplier.
4. Lubrication (if specified)
Some bleeder bonnets may include internal seals or threads that require light lubrication—follow the OEM recommendations.
Common Mistakes to Avoid
| Mistake | Risk | Best Practice |
| Overtightening | Thread stripping or body cracking | Use calibrated torque wrench |
| Misaligned threads | Leaks or bonnet failure | Hand-tighten first to align |
| Skipping leak test | Undetected leaks during operation | Always test before commissioning |
| Using incorrect material | Corrosion or reaction with process fluid | Match material to media and environment |
| Reusing damaged bonnets | Risk of failure | Inspect before reuse or replace |
Pro Tips for Optimal Performance
Use only OEM-certified bleeder bonnets to avoid quality issues.
Maintain a spare parts inventory of common bonnet sizes.
Train staff on proper venting procedures and leak detection.
Document each bonnet’s installation date and inspection records for compliance.
Consider tamper-proof bonnets in safety-critical systems to prevent unauthorized operation.
Conclusion
Installing and maintaining a bleeder bonnet is a straightforward task—but when done incorrectly, it can compromise the safety and reliability of your entire instrumentation system. By following the proper steps, using the right tools and materials, and committing to routine maintenance, you ensure that your valve assemblies operate efficiently and safely.
At Walter Valves, we provide precision-engineered bleeder bonnets and fittings designed for demanding applications. Whether you’re working in petrochemical, power generation, or industrial process environments, our components are trusted worldwide for their performance and reliability.
Need help choosing the right bleeder bonnet for your project? Contact us at info@waltervalves.com — our experts are ready to assist.
FAQ
What is the purpose of a bleeder bonnet?
A bleeder bonnet allows safe manual venting of trapped gas or liquid in a pressurized system. It ensures equipment can be serviced or removed without risk of pressure-related injury.
How do you know if a bleeder bonnet is leaking?
Apply soapy water to the bonnet base or use an electronic leak detector during system operation. Bubbles or hissing sounds indicate a pressure leak.
Are bleeder bonnets reusable?
Yes, provided there’s no damage to the threads, seals, or venting mechanism. Always perform a leak test after reinstalling.
What materials are available for bleeder bonnets?
Walter Valves offers bleeder bonnets in stainless steel, carbon steel, Monel, and other alloys. Material choice depends on fluid type, system pressure, and corrosion risk.
Do I need a bleeder bonnet on every valve?
No. Bleeder bonnets are required only where safe pressure release is needed—such as on manifolds, test points, and double block & bleed systems.